| Welcome to a brand new source of learning and continuous inspiration presented by DesignMantic. If you are new to logo design, we will provide you simplified guidance to getting started with logo making. Following are the basic steps to creating logos. Practice them and in little to no time; you will be working like a pro. |
|
1. Brief |

|
| Photo credits:Daniel Lim |
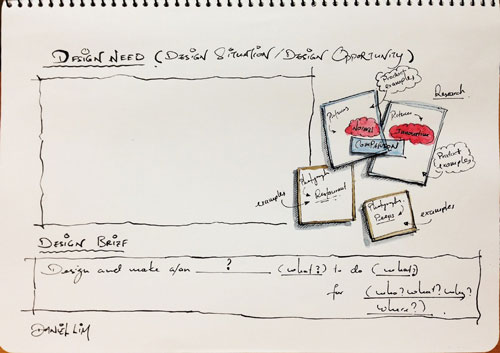
| This includes personal information such as name, email address, website address, etc. You are required to explain in detail exactly what you want from the designer and how that will be used in future. Also budget and some additional questions about your business may be included in the Brief questionnaire. |
2. Research |
 |
| Photo credits:Daniel Lim |
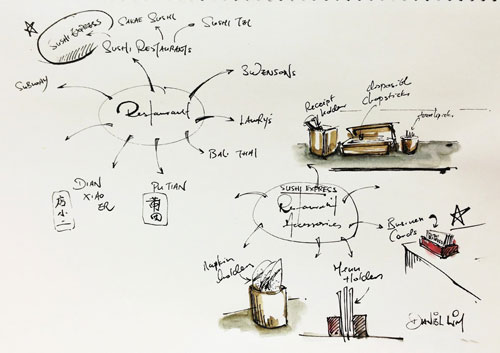
| Start with market research, check competitive audit and brainstorm with the moodboards. You also need to research what trends and styles are suitable for your client’s particular needs. |
3. Sketching |
 |
| Sketch your ideas and experiment with the concept as much as you can (stretch your aesthetic limits). Filter them in two categories: good and bad. |
4. Conceptualization |
 |
| Transfer the two or three final logo designs from you sketchpad onto the computer and of course, that means Adobe Illustrator. |
5. Presentation |
 |
| Send initial concepts to the client to receive feedback. You can’t move forward without his ‘Go ahead.’ |
6. Improvement |
 |
| Make changes in accordance with your client’s feedback. Refine the details and improve it visually to better communicate the message. |
7. Development |
 |
| Work on developing the aesthetic for final design. This includes color schemes, typography choices, and layout variations. Review your work. |
8. Final Product |
 |
| Send the final files to your clients. Use Vector instead of Raster. Smile.
|


